Choosing the right LED Light Strips is less about finding the brightest option and more about matching the strip to your space. A soft, warm glow under kitchen cabinets calls for different features than colorful lighting behind a desk or television. Measure the installation area, note nearby outlets, and consider whether the strip will be visible or tucked out of sight. Small details matter.
Brightness, color temperature, and color quality shape how a room feels. Check the lumen output and whether the product offers adjustable white light or only fixed colors. A high CRI can help furnishings and food appear more natural. For bathrooms, patios, or other damp locations, review the stated IP rating and follow the manufacturer’s installation guidance. Do not assume every strip is suitable for every surface. That can disappoint.
Power and controls deserve equal attention. Match the strip’s voltage and power requirements with its compatible supply, and check whether your preferred dimmer, remote, or smart-home system is supported. Look for clearly marked cut points, reliable connectors, and an adhesive suited to the mounting surface. Dusty paint or rough wood may need extra preparation. Even then, adhesion can vary.
There is no single best choice for every room, budget, or project. This guide compares practical features so you can weigh appearance, installation effort, and long-term use before buying. A specification sheet can help, but it cannot show exactly how light will look on your own wall. A little uncertainty remains.
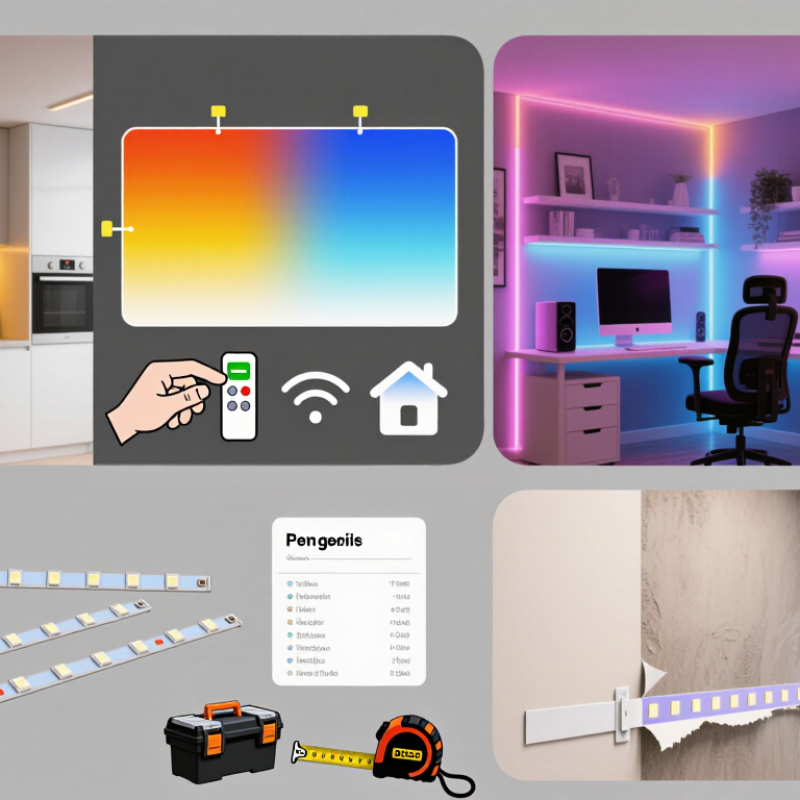
Start with the task. Accent lighting behind a desk needs different features than bright, continuous light beneath kitchen cabinets. Note the strip’s length, desired brightness, color temperature, dimming needs, and daily operating hours. Sketch the route, including corners and the power connection. A paper plan can miss awkward cabinet edges, so measure the actual surface.
The U.S. Department of Energy’s 2022 Energy Savings Forecast for Solid-State Lighting projects annual U.S. energy savings of about 569 terawatt-hours by 2035 as LEDs replace conventional lighting. Efficiency matters, but the installation environment matters too. Check whether the strip will face heat, dust, water, or frequent cleaning. For damp areas, compare the product’s IP rating with the protection defined under IEC 60529; a covered patio can still get wet from wind-driven rain. Moisture changes everything.
Also inspect the mounting surface and ventilation. A strip pressed against a warm appliance or trapped in a sealed channel may need better heat dissipation. For long runs, verify the manufacturer’s limits for length and power feed; brightness can fall toward the far end. Leave the power supply accessible for replacement. Even careful plans can miss that detail.
Brightness, color temperature, and color accuracy shape how an LED strip feels in a room. Compare brightness in lumens per meter, not just total lumens, and check that products use the same measurement conditions. A strip tucked under a cabinet may need less output than one lighting a workbench. Too much brightness can create glare, especially on glossy counters. Dimming helps, but only when the strip and its power supply support smooth, stable dimming.
Color temperature, measured in kelvins, describes whether white light looks warm or cool. Around 2700K to 3000K often feels cozy in living areas, while 3500K to 4000K can suit kitchens and desks. Higher values may look crisp, but can feel harsh in a small room. View samples beside your actual wall paint or wood finish if possible. Screens rarely show the final effect accurately.
Color accuracy matters when light falls on food, fabric, or artwork. Look for a high CRI rating, and check whether the seller provides details beyond a single score. The R9 value can help reveal how well strong reds appear, though it is not the only factor. A specification sheet is useful, but it cannot capture every diffuser or surface. Real rooms are messier than product photos. Compare strips at the same brightness, then judge the light where you plan to install it.
| Strip Type | Typical Brightness | Color Temperature | Color Accuracy | Best For | What to Check |
|---|---|---|---|---|---|
| Single-color white | About 300–1,500 lumens per meter, depending on LED density and power | Usually one fixed CCT, commonly 2,700–6,500 K | CRI varies by product; choose CRI 90 or higher for more faithful colors | Task lighting, shelves, and accent lighting where one white tone is enough | Look for stated lumens per meter, CRI, and the exact CCT |
| Tunable white | Often about 500–1,500 lumens per meter across the adjustable range | Typically adjustable from warm white (around 2,700–3,000 K) to cool white (around 6,000–6,500 K) | Check CRI for the white LEDs; CRI 90+ is a useful target for color-sensitive spaces | Rooms where the white tone should shift between relaxing and task-focused lighting | Confirm the CCT range and whether brightness changes at the warm or cool ends |
| RGB color-changing | Brightness depends on the selected color; mixed colors are generally less bright than a dedicated white channel | Selectable colors; white may be simulated by mixing red, green, and blue | CRI is generally not a meaningful rating for colored output; RGB-mixed white may not render colors as naturally as dedicated white LEDs | Decorative effects, gaming areas, and occasional color accents | Check whether the product provides a separate white channel if usable white light matters |
| RGBW color-changing | Varies by design; dedicated white output is usually more useful than RGB-mixed white | RGB colors plus a separate white LED channel, often with a fixed white CCT | Check the CRI of the dedicated white channel; it may differ from the color LEDs | Spaces needing both colorful effects and practical white illumination | Verify the white-channel CCT, CRI, and brightness separately from RGB output |
| COB white | Commonly around 500–1,500 lumens per meter; output varies with power and construction | Available in fixed white CCTs; some versions are tunable white | Some versions specify CRI 90+; check the rating for the exact strip | Smooth, continuous-looking light in shallow channels and visible installations | Check measured brightness, CRI, cut intervals, and whether the strip needs a channel for heat management |
Note: Brightness figures are broad, typical ranges rather than guarantees. Actual output depends on strip length, LED density, electrical power, color setting, and manufacturer testing. For accurate product comparisons, use measured lumens per meter and verify that CRI and CCT refer to the white-light output.
Start with a tape measure, not a guess. Measure each straight run, then account for corners and gaps between sections. Measure twice. Check the strip’s stated maximum run length; extending one continuous run beyond its limit can cause dimmer sections near the far end.
Next, calculate power: multiply the strip’s watts per meter by the total length. For a 5-meter strip rated at 10 watts per meter, that is 50 watts. A supply rated around 60 watts provides roughly 20% headroom. Treat this as a practical guideline, not a universal rule. The U.S. Department of Energy’s Energy Saver guidance says LEDs use at least 75% less energy than incandescent lighting, but that broad comparison cannot replace the strip’s own wattage specification.
Match the supply voltage exactly to the strip, such as 12 or 24 volts, and confirm that any controller uses the same voltage. Higher-voltage strips can reduce current for the same power, but they are not automatically compatible with every setup. Long runs may show voltage drop, often visible as weaker light at the far end. Follow the product’s instructions for maximum run length and power injection. Small details matter. A tidy installation can still be underpowered if the supply rating is misread.
When choosing LED light strips, test the controls you will actually use. A handheld remote can be quicker than opening an app, especially beside a bed or desk. Check whether it adjusts brightness smoothly, changes colors reliably, and remembers your last setting after power is cut. Small details matter. A dimmer that jumps from bright to nearly dark can make evening lighting frustrating.
Connectivity affects daily use too. Bluetooth often works well in one room, while Wi-Fi can allow control from farther away, provided the network is stable. Confirm the strip supports your home network and the phone operating system you use. Smart features may include schedules, voice control, or scenes that shift from warm light to a cooler work setting. Useful, but not essential. Review app permissions and check whether basic controls still work if the internet drops. A physical controller is a sensible backup.
Before buying, compare the strip’s controller with its power supply and intended length; not every extension behaves the same way. Look for clear instructions on pairing, resets, and cutting points. These details are easy to overlook when colorful demos make every option seem effortless. I would weigh dependable dimming and simple setup above a long list of features. More automation can be nice, but it can also mean more troubleshooting.
Durability starts with the place you plan to install the strip. A dry bedroom shelf needs less protection than a bathroom edge or a covered patio. Check the IP rating, but remember that it describes resistance to dust and water, not every kind of exposure. A higher rating can be useful outdoors, though the connectors and power supply must also suit the location. Look for clear information about the strip’s backing, operating temperature, and expected lifespan. Adhesive that loosens after a warm afternoon is still a practical failure. Small detail, big nuisance.
Safety ratings deserve a close look. Choose a power supply with recognized safety certification for your region, and check that its output matches the strip’s voltage and power needs. Do not rely on a low price or a reassuring product photo. Calculate the total wattage for the strip length you intend to use, then leave some capacity in the power supply. This helps avoid running it continuously at its limit. Overall value includes more than purchase price: consider usable length, replaceable connectors, warranty terms, and clear instructions. I would not assume the longest lifespan claim is guaranteed; installation, heat, and daily use can change the result. A modest strip with credible specifications may be the better buy.
Yes. It can adjust brightness quickly beside a bed or desk. Check that dimming feels smooth.
Bluetooth can work well in one room. Wi-Fi may reach farther, but depends on a stable network.
Schedules, voice control, and lighting scenes can be useful. They are not essential. Keep a physical controller as backup.
Confirm the controller and power supply support the planned length. Read the pairing, reset, and cutting instructions. Easy to miss.
It describes resistance to dust and water. Check whether the connectors and power supply also suit the installation location.
Match its voltage and output to the strip’s requirements. Calculate total wattage and leave some spare capacity.
Installation location, heat, backing, and daily use all matter. Adhesive may loosen after a warm afternoon.
Compare usable length, replaceable connectors, warranty terms, and clear specifications. I would treat long lifespan claims cautiously; real results vary.
Choosing the best LED Light Strips starts with understanding where and how you plan to use them. Consider the room, installation surface, exposure to moisture or dust, and whether the lighting is meant for decoration, task lighting, or general ambience. Compare brightness, color temperature, and color accuracy to make sure the strips provide the right level and quality of light for your space.
Next, measure the installation area and select a suitable strip length, power supply, and voltage. Check how the lights are controlled, including available connectivity and smart features, and make sure those options fit your preferences. Finally, review durability, safety ratings, and total cost rather than focusing on price alone. Considering these factors together can help you choose lighting that is practical, reliable, and well suited to your needs.